RECYCLE RIDE


Where accessible transportation meets recycling
CLIENT:
Team project for undergraduate interaction product design, Universidad Iberoamericana
ROLE:
Team designer and engineer
CHALLENGE:
How might we develop a platform that encourages use of collective transportation and sustainability behavior in students
How might we make transportation accessible for all students
OUTCOME:
Recycle Ride adds bus or subway fare to your transport RFID card in exchange for aluminum, glass or PET plastic refuse. The system divides the objects in three containers to make the recycling process easier. The intention is to encourage recycling and the use of collective transportation through an interactive platform. Recycle Ride also intends to extrapolate the experience of the user to her or his own life, so that recycling becomes a behavioral change.
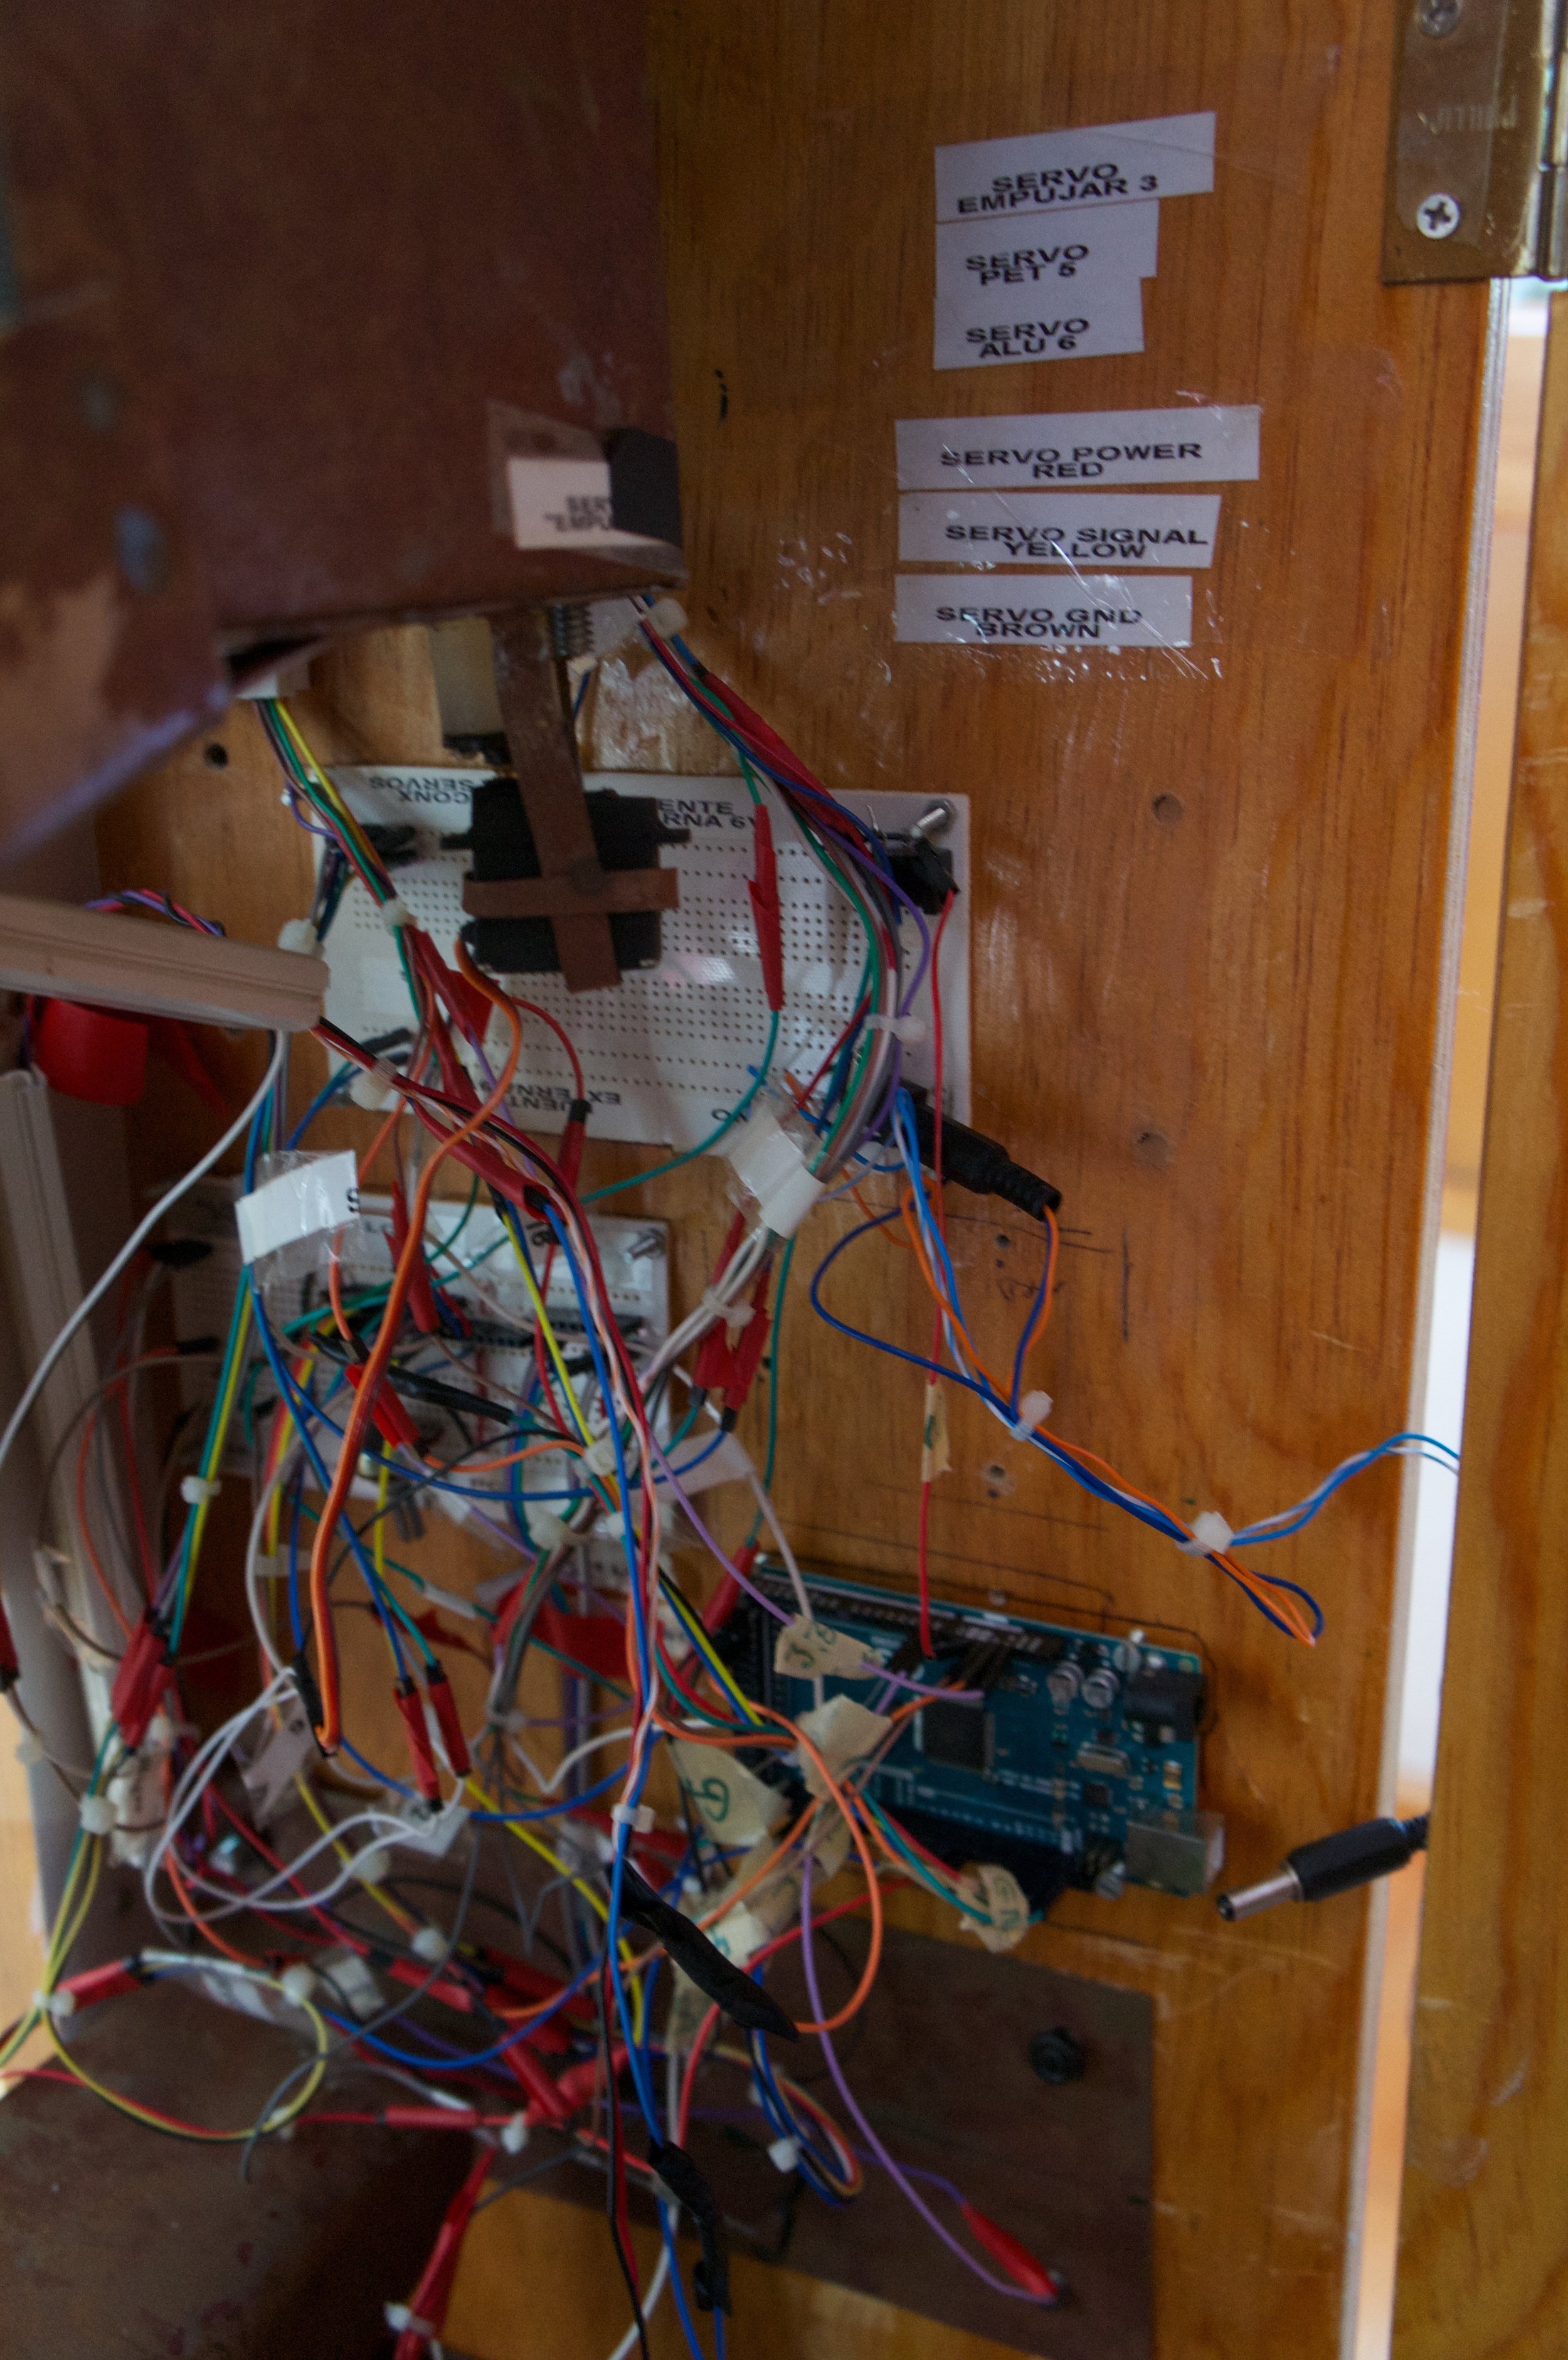
The sorting of these three materials is done by an Arduino MEGA, two sensors (force and light sensor) and three servo doors, the system is detailed below. I made this project in my senior year for my digital control final course, it involved everything from CAD prototyping, programming with Arduino, designing the UX and IX aspects and constructing the mechanical system. As well as constantly re-doing the code, adjusting the mechanical arrangements and designing along these changes.
The project cannot encode “any” RFID transport card because each company encrypts their cards, so this was done with “clean” cards that are writable. However, the possibilities to partner this platform with any private (e.g. University bus) or public transport are endless.
HOW IT WORKS:
The system is a closed-loop digital control program:
1. The user approaches the platform. An LCD screen displays the initial greeting and will walk the user through the process with different messages.
2. The user pushes Button No.1 to “add a new container”. This simple arcade button allows a 3 Amp current to go through when pushed, giving the Arduino Mega an analog signal ; the program opens a new process. The screen presents an “add object to the compartment” message, the user adds a container (PET plastic, glass or aluminum) to the insertion compartment.
3. The compartment has a force sensitive resistor (to determine the weight of the object) fitted into a simple acrylic scale, as well as a 9 W light bulb and a photoelectric sensor (to determine if the object is translucent or not). The nature of the container is determined by Arduino by a deductive logic process, the nature of the material and the monetary value that will be added to the RFID card is displayed at the end of this process on the LCD screen-
Once Arduino has opened a new loop, the photoelectric sensor “talks” first, it's placed on the base of the compartment so the introduced object covers it. This light sensor outputs an analog value from 0 to 5V. With exposure to daylight (or in this case the light bulb and translucent object), this sensor will output 5V. Covering the sensor with a non-translucent object (such as an aluminum can) the sensor will output 0V. If we have glass or PET plastic, light is generally refracted so the sensor will output from 1 to 2V. However, this is a good range for Arduino to read: 0 V means we have aluminum , anything more than 0 V (Usually from 1 to 2V) is PET plastic or glass.
If the program has determined that the object is NOT aluminum, then it is glass or PET plastic; the force sensitive sensor on the base of the compartment will determine which one. This FSR sensor has a range between 0.1 and 10 kg, and it works by lowering its resistance proportionally to how great the force is. The bigger the force (weight) sensed, the lower the resistance is. Because we know the proportional resistance to a certain force, we can determine a range for the code: if the weight sensed is greater than 300 grams, we know its glass. Thus, if the weight sensed is smaller or equal to 300 grams, we know it's PET plastic. This answers the last question and our program now knows the nature of the container.
Now that the container has been sorted, a second loop starts to separate the refuse into its rightful compartment. This system has 3 acrylic doors connected to 180º servos and works this way:
FIRST DOOR: Once Arduino knows the nature of the object, this door pushes the object with a 90º turn, the object falls into the first slide.
SECOND DOOR: IF the object is aluminum, then this door will go to its 90º position, which does not allow the object to continue through the slide and thus it falls into the first container: aluminum.
THIRD DOOR: IF the object is PET plastic, then the SECOND DOOR will be in its 0º position, to allow the object to continue through the slide. The THIRD DOOR will go to its 90º position, stopping the object and forcing it to go into the second container: PET.
IF the object is glass, then the SECOND and THIRD door stay in their 0º position to allow the object to get to the end of the slide and hence fall into the last container: glass. Choosing glass as the last container was not an arbitrary decision: glass is the heaviest of the three materials and has the necessary inertia to roll to the end of the slide even with a small slope.
4. Now that the first object has been sorted, two options are presented: to add a new material, the user pushes the second button, thus returning to the first loop and creating a “tab” of all the monetary rewards for the objects. The second option is to end the process and add the reward to the RFID card by approaching it to the RFID reader/encoder so it can write it. Both options are displayed on the LCD screen. If the user chooses to add more materials, the system reboots the doors and sensors so a new sorting can be carried out
That's how Recycle Ride works, ideally it could be installed in subway and public bus stations.
I strongly believe in Open-Source and collaboration, so please click here to view my final paper, code and materials:
Autodesk Inventor CAD for the Recycler layout
